My first three batches of chicken in the Ninja 4 QT Air Fryer were a disappointment. The outside looked good from a distance, but the texture was soft where it should have been crisp, and one side came out darker than the other. I almost convinced myself the machine was the problem. It was not. Every issue traced back to technique, and once I figured out which variables actually mattered, my results improved on the very next cook. This guide covers the five steps I now run every time I want consistently crispy food from a compact air fryer.
I am writing this specifically for the 4 QT size because that is what most small-kitchen cooks are working with. The capacity constraints of a compact basket change the rules compared to a larger unit, and most guides do not account for that. If you follow the steps below in sequence, you will stop guessing and start getting results you can repeat.
The air fryer I tested every technique on: Ninja 4 QT, 4-in-1
Over 90,000 ratings at 4.7 stars. The 4 QT basket is the right size for one to two people, and the preheat cycle is fast enough that it fits into a weeknight routine. Check whether it is in stock before you decide.
Amazon Check Today's Price on Amazon →Step 1: Dry the Surface of Your Food Completely Before It Touches the Basket
This step sounds basic and most people skip it. That is why most people get soft results. An air fryer works by moving very hot, dry air across the surface of your food at high speed. Any moisture on the exterior of the food has to evaporate before the surface can brown and crisp. Every drop of water you put in the basket is heat energy that goes into evaporation instead of into building a crust.
For fresh protein, pat it dry with a paper towel before any seasoning goes on. For frozen food, let it thaw in the refrigerator overnight and pat it dry the next evening, or at minimum set it on a wire rack for fifteen minutes so surface ice can drip off before you start cooking. For vegetables, spin them in a salad spinner or press them between two clean kitchen towels. The dryer the surface, the faster the Maillard reaction starts, and the crispier your result.
I tested this back to back using identically sized chicken thighs, same seasoning, same temperature, same time. The patted-dry thigh had visible crackle on the skin within the first five minutes. The wet thigh was still releasing steam at the seven-minute mark. Final texture was noticeably different side by side. This single step is responsible for more of the outcome than any setting on the machine.
Step 2: Preheat the Basket for Three to Five Minutes Before Loading Food
A cold basket is a moisture trap. When you put food directly onto an unheated surface, the bottom of the food steams against the cool metal for the first few minutes of cooking. By the time the basket reaches operating temperature, the underside of your food is already soft. Preheating eliminates that lag and means the crispification process starts the second food makes contact.
On the Ninja 4 QT, I run the unit at the target cooking temperature for four minutes with an empty basket. That is enough. You do not need a long warmup. The compact size of the 4 QT basket means it heats quickly, and the fan-driven airflow brings the interior to temperature faster than a conventional oven. Do not skip this step even when you are in a hurry. Four minutes is a reasonable investment.
One thing to note: a preheated basket will cause immediate sizzling when food goes in. That is exactly what you want. That sound tells you the exterior is already reacting to heat rather than absorbing cool from the surface. If you hear nothing when food hits the basket, the basket was not hot enough.
Step 3: Use a Single Layer and Leave Space Between Every Piece
The 4 QT basket is not large. The temptation is to fill it and cook a bigger batch in one shot. Every time I have done that, the results have been uneven: the pieces touching each other come out softer, and the overall cook time is unpredictable. Compact air fryers depend on airflow reaching all surfaces of the food at once. When pieces overlap or crowd together, the air cannot circulate freely and you are effectively steaming the food between the contact points.
A reliable single-layer rule for the Ninja 4 QT: if you can see the basket bottom between every piece, you are set. If the food is touching, pull some out and cook in two batches. I know two batches sounds slower, but each batch takes twelve to sixteen minutes for most proteins, and the total time difference between one crowded batch and two properly spaced batches is usually under ten minutes. The quality difference is far larger than that time gap.
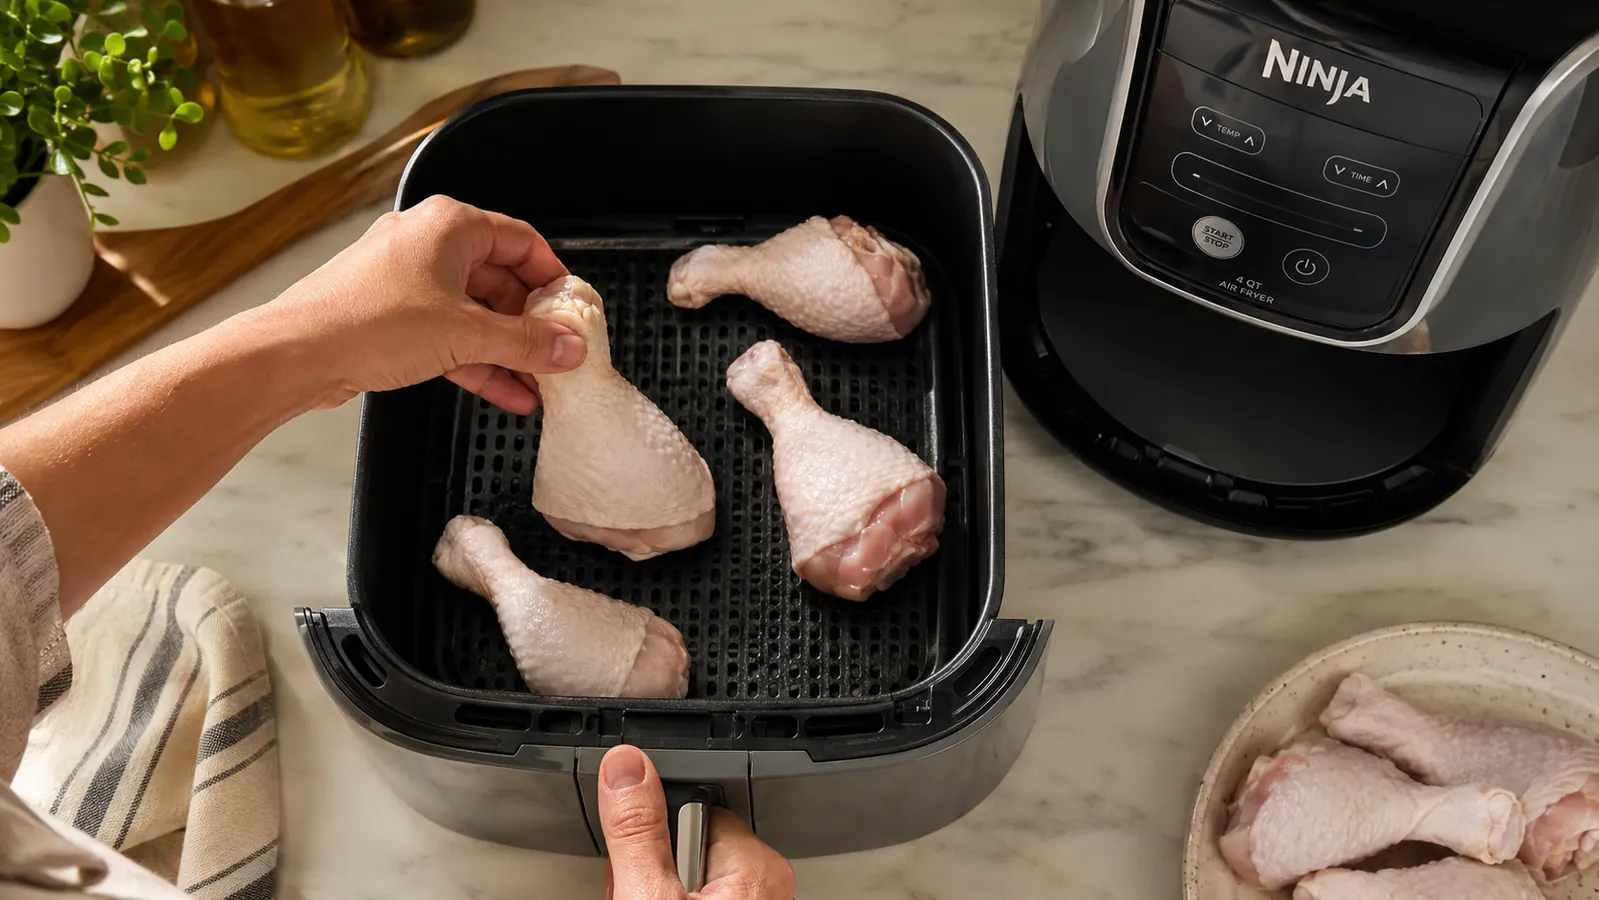
For smaller items like broccoli florets or frozen fries, a single layer still applies, but you have more flexibility because small pieces leave natural air channels. The rule to remember is that nothing should be stacked directly on top of anything else. The top piece will never brown properly because hot air cannot reach its underside, and its weight presses down moisture onto the piece below it.
Step 4: Shake or Flip at the Halfway Point Without Opening the Lid More Than Once
Most compact air fryers cook the top surface of food more aggressively than the bottom because the heating element is above and the fan throws air downward and outward. If you do not intervene mid-cook, the top surface will overcook while the underside stays pale. A single shake or flip at the halfway point corrects for this and exposes both surfaces to equal air contact over the full cook time.
For pieces you can shake, like fries or florets, pull the basket out, give it a firm shake, and slide it back in. For larger pieces like chicken thighs, salmon fillets, or pork chops, use tongs to flip each piece individually. Either way, do it once at the midpoint and do not open the basket again until the timer goes off. Every extra time you open the basket you drop the internal temperature and extend the effective cook time.
A single flip at the halfway point made a bigger difference to even browning than changing the temperature by twenty-five degrees in either direction. Consistency of exposure beats intensity of heat.
On the Ninja 4 QT, pulling the basket out does not pause the timer. Keep that in mind. If you need longer than fifteen seconds to flip a difficult piece, pause the unit manually using the power button. Leaving the element running while the basket sits outside means the interior temperature spikes and the next several minutes of cooking run hotter than intended.
Step 5: Set the Right Temperature for the Food You Are Cooking, Not a Single Default
A lot of first-time air fryer users pick one temperature, usually 400 degrees Fahrenheit, and use it for everything. That works for some foods and produces poor results for others. Thin or delicate foods like fish fillets or asparagus cook better at 375 degrees Fahrenheit, where the surface has time to set without the exterior burning before the interior finishes. Dense proteins like bone-in chicken or thick pork chops benefit from starting at 375 degrees for the first half of the cook and finishing at 400 degrees for the last few minutes to drive a final crust.

Frozen foods are their own category. Because they start at freezer temperature, they need a longer total cook time at a moderate heat rather than a short blast at high heat. Cooking frozen items at 400 degrees Fahrenheit straight through usually burns the surface before the interior reaches a safe temperature. I get better results with most frozen proteins at 375 degrees for twelve minutes, flip, then two to three additional minutes at 400 degrees to finish the crust.
The chart above covers the most common foods and the settings I found reliable in the Ninja 4 QT after testing each one. Use it as a starting reference, then adjust by two to three minutes based on the actual size of your pieces. Thickness varies more than any label tells you, and a thick chicken thigh versus a thin one can differ by four minutes even at the same temperature.
What Else Helps
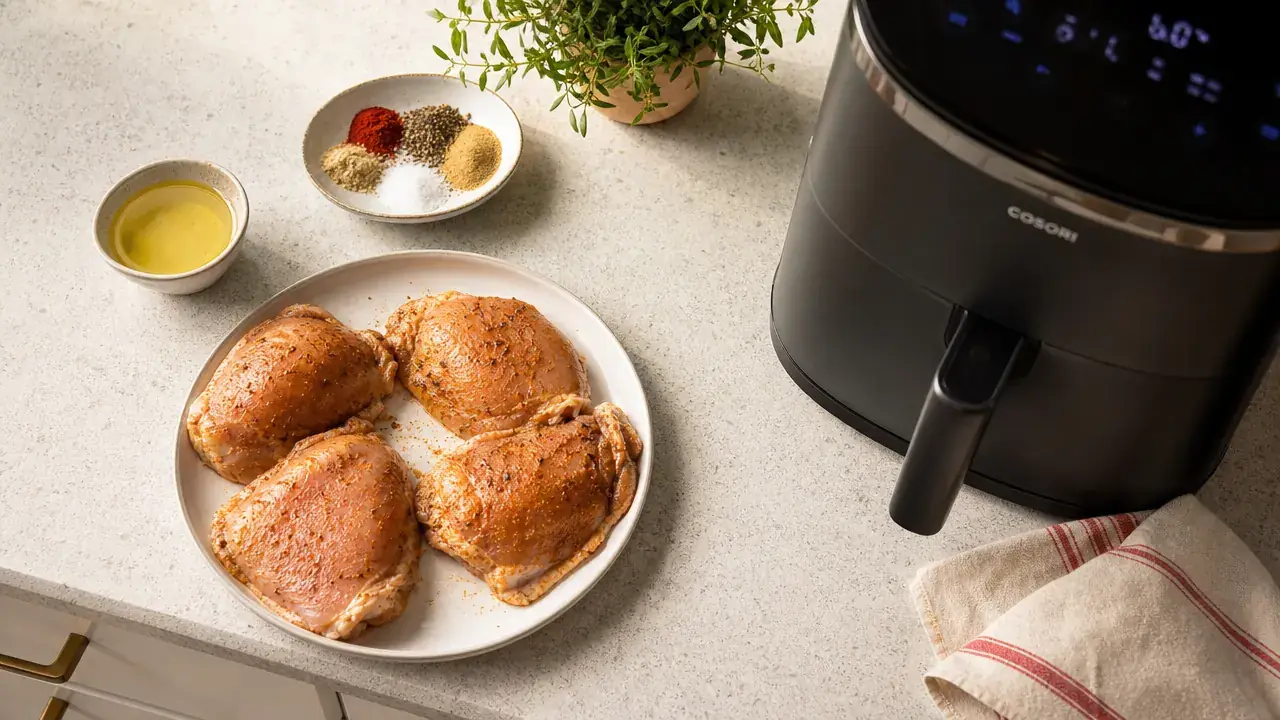
Beyond the five core steps, a few secondary factors are worth knowing. A light coat of oil on the surface of lean foods speeds browning. I use an oil mister rather than pouring oil directly, because a fine mist distributes evenly and uses far less than pouring. For foods with natural fat like chicken thighs or salmon, added oil is usually unnecessary. The fat renders out during cooking and bastes the surface from underneath.
Seasoning adherence matters more in an air fryer than in a conventional oven because the high-speed airflow can actually blow loose seasoning off the surface of the food. Pressing dry rubs gently into the surface rather than sprinkling them on helps them stick. For wet marinades, pat the surface dry after marinating so you get the flavor without the moisture penalty.
Cleaning the basket after every use keeps the nonstick surface working properly. Grease buildup on the basket bottom creates hot spots that cook unevenly and can produce smoke. The Ninja 4 QT basket is dishwasher safe, which makes this easy to stay consistent on. A basket that smells like old grease when it heats up is past the point where it cooks predictably. I clean mine after every session, and I have not had a smoke issue in three months of regular use.
If you want a deeper look at how this unit performs across a wider range of foods and use cases, my full 90-day review covers everything from weeknight dinners to reheating leftovers: Ninja Air Fryer Review After 90 Days. If you are still deciding between the Ninja and the Instant Vortex, my side-by-side comparison gives you the data you need before spending money on either: Ninja vs Instant Vortex: Tested Side by Side.
Ready to put these steps into practice with a machine that handles the 4 QT format well?
The Ninja 4 QT Air Fryer is the unit I tested all five of these techniques on. It preheats fast, cleans easily, and the basket geometry fits the single-layer spacing rules without forcing awkward workarounds. See what it is going for today before you decide.
Amazon Check Today's Price on Amazon →