If you have cooked rice on the stovetop, you already know the problem. You set a timer, get distracted for four minutes, and come back to a pot that is either crusted to the bottom or so waterlogged it needs to drain like pasta. A compact rice cooker should fix that. But a lot of people buy one, run two batches of mediocre rice, and decide the machine is the issue. It usually is not. The issue is almost always the water ratio, the rinsing step, or what happens in the ten minutes after the cook cycle ends.
I have been cooking rice in the AROMA 3-Cup Rice Cooker for several months in a 420-square-foot apartment kitchen. Long-grain white, jasmine, short-grain sushi rice, and even a few batches of brown rice. I tested five different water ratios on each variety, logged the results, and landed on a set of ratios and techniques that produce fluffy, separated, properly cooked rice every single time. This guide documents exactly what I found.
Stop guessing with stovetop timers. The Aroma 3-Cup is the compact tool that handles it automatically.
Under $20, takes up less than 8 inches of counter space, and cooks up to 6 cups of cooked rice in one cycle. It is the rice tool I use daily in my own small kitchen.
Amazon Check Today's Price on Amazon →Step 1: Measure Your Rice Correctly
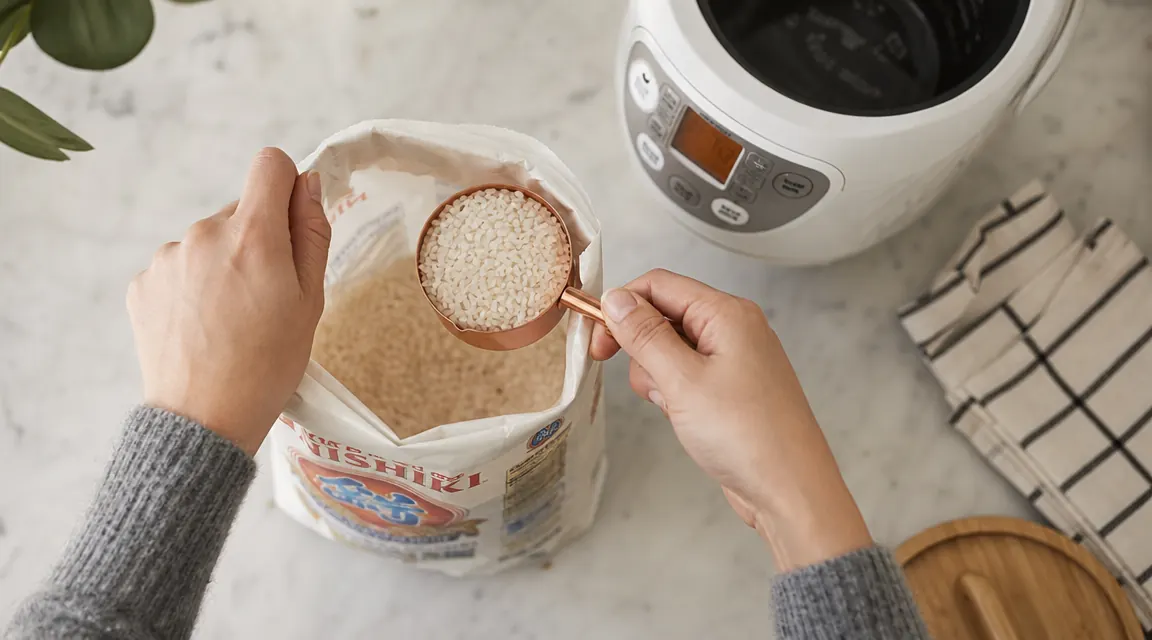
This is where most compact rice cooker failures start. The measuring cup that ships with the AROMA is not a standard US cup. It is a Japanese rice cup, which holds 180 milliliters, about 75 percent of a standard US cup. If you measure rice with a standard US measuring cup and then use the water line marked inside the pot, you will end up with too much rice for the marked water volume. The rice comes out undercooked, dense, or chalky in the center.
The fix is simple: always measure rice with the included cup. One included cup of dry white rice produces roughly two cups of cooked rice, which is a solid single-serving with enough for a second portion. Two included cups fills the pot comfortably and produces about four cups cooked. Do not exceed two included cups of dry rice in a 3-cup machine. I tested three cups once. The lid did not seal cleanly and the rice on top came out undercooked while the bottom was overdone.
Step 2: Rinse Until the Water Runs Clear
Rinsing is the single highest-leverage step in the whole process. Dry white rice is coated in surface starch from milling. If that starch goes into the cooker with the rice, it gelatinizes during cooking and you get clumpy, sticky, gummy results. Not the sticky-by-design stickiness of sushi rice. The kind where individual grains fuse into a solid mass.
Add your measured dry rice to the inner pot or a separate bowl. Cover it with cold water, swirl it with your hand, and drain. Repeat until the water you drain off runs mostly clear. For long-grain white or jasmine rice, this takes three to four rinses. For short-grain or sushi-style rice, it can take five or six. The water will never be completely clear, and you do not need it to be. Mostly clear is enough. Do not skip this step because you are in a hurry. The texture difference between rinsed and unrinsed rice in a compact cooker is significant.
Rinsing until the water runs mostly clear is the single step that separates fluffy separated rice from a sticky, clumped mass. It takes 90 seconds and it is not optional.
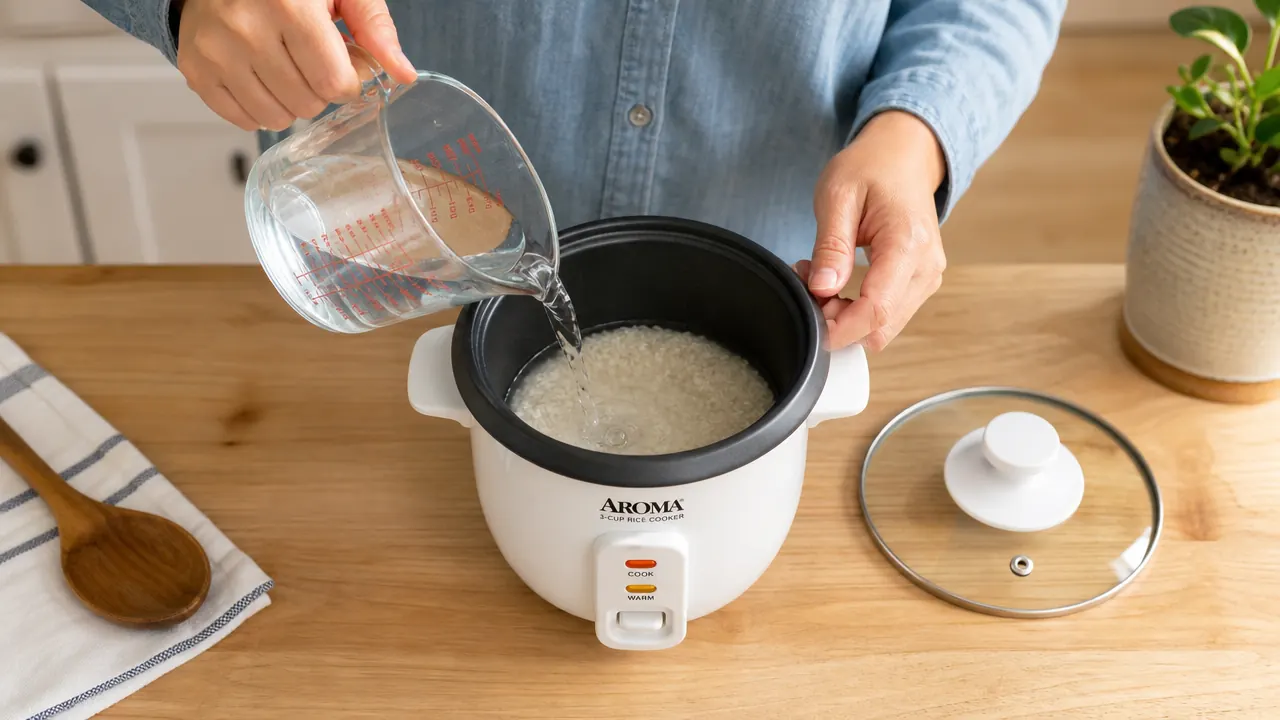
Step 3: Use the Right Water Ratio for Your Rice Type
The AROMA has water-level lines marked inside the inner pot that correspond to the included measuring cups. For standard long-grain white rice and jasmine, those lines work well. Fill water to the line that matches your cup count of dry rice. For short-grain or sushi rice, I add about a tablespoon less water per included cup than the line indicates. Short-grain rice absorbs water more readily and the standard line tends to produce a slightly wet result.
For brown rice, use roughly 25 percent more water than the white rice line and expect the cook cycle to run about 40 minutes instead of 20. The AROMA does not have a dedicated brown rice setting, but it handles brown rice acceptably if you get the water right. After a few test batches, I settled on this as a reliable brown rice ratio in this machine: 1 included cup dry brown rice to 1.5 standard US cups of water. Results were consistently cooked through, not soggy. For basmati, match the long-grain white line but reduce by about one tablespoon per cup. Basmati is drier than jasmine and does not need quite as much liquid.
A brief note on altitude: if you are cooking above 3,000 feet, water boils at a lower temperature and rice can come out underdone at standard ratios. Add an extra two tablespoons of water per cup of dry rice if you are cooking at elevation.
Step 4: Let the Cooker Do Its Job Without Lifting the Lid
Once you press the cook lever on the AROMA and the machine starts, leave the lid alone. I know it is tempting to lift it and check. Every time you open the lid, you release steam that the rice needs to finish cooking. The internal pressure and temperature drop, the cook time extends, and you introduce the possibility of uneven cooking. On a compact 3-cup machine, the cook cycle for white rice runs approximately 18 to 22 minutes. Trust the machine.
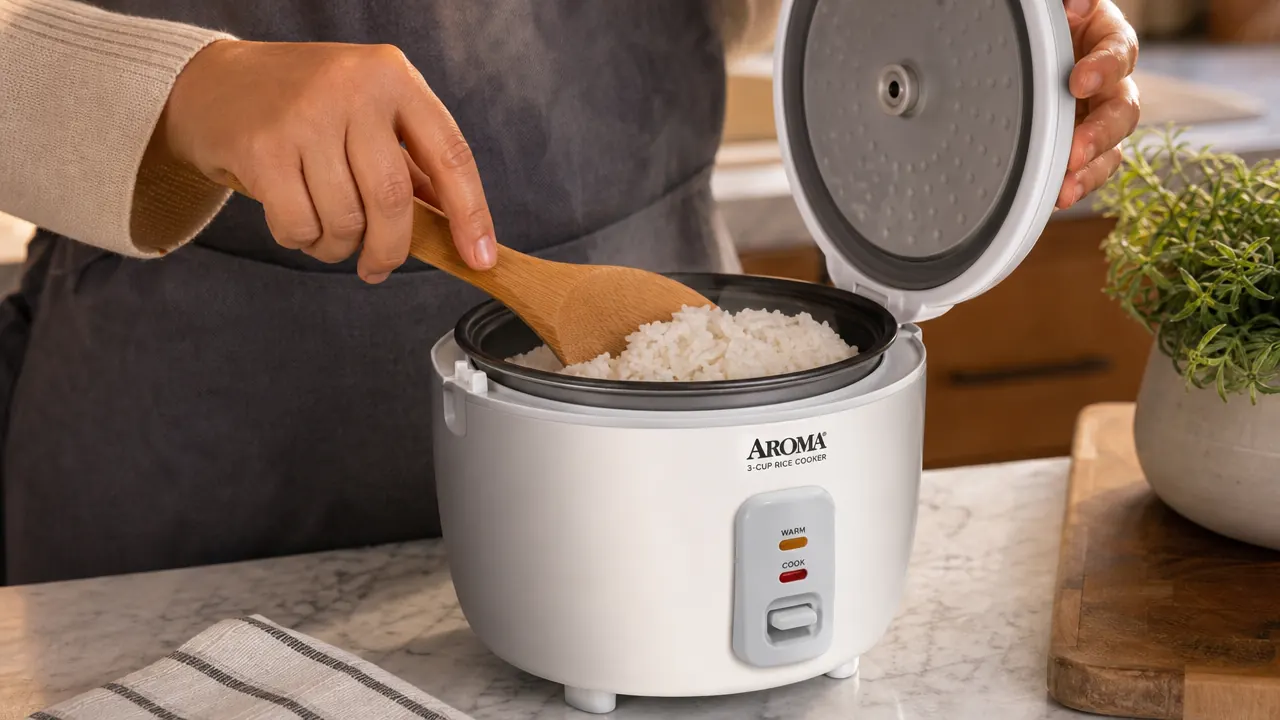
The AROMA switches automatically from Cook to Warm when the temperature inside the pot reaches the threshold indicating all free water has been absorbed. You will hear a click when the lever pops up. That click means the active cook cycle is done. It does not mean the rice is ready to serve.
Step 5: Rest the Rice for 10 Minutes After the Cycle Ends
This step is the one most people skip, and it is the reason their rice comes out either slightly wet on top or dry and hardened around the edges. When the cook cycle ends and the machine switches to Warm, the rice still has residual steam trapped in it. That steam needs time to redistribute and finish absorbing into the grain. If you open the lid the moment you hear the click, you will see condensation dripping off the lid onto the top layer of rice, leaving wet patches. If you leave it on Warm indefinitely without serving it, the bottom layer can dry out.
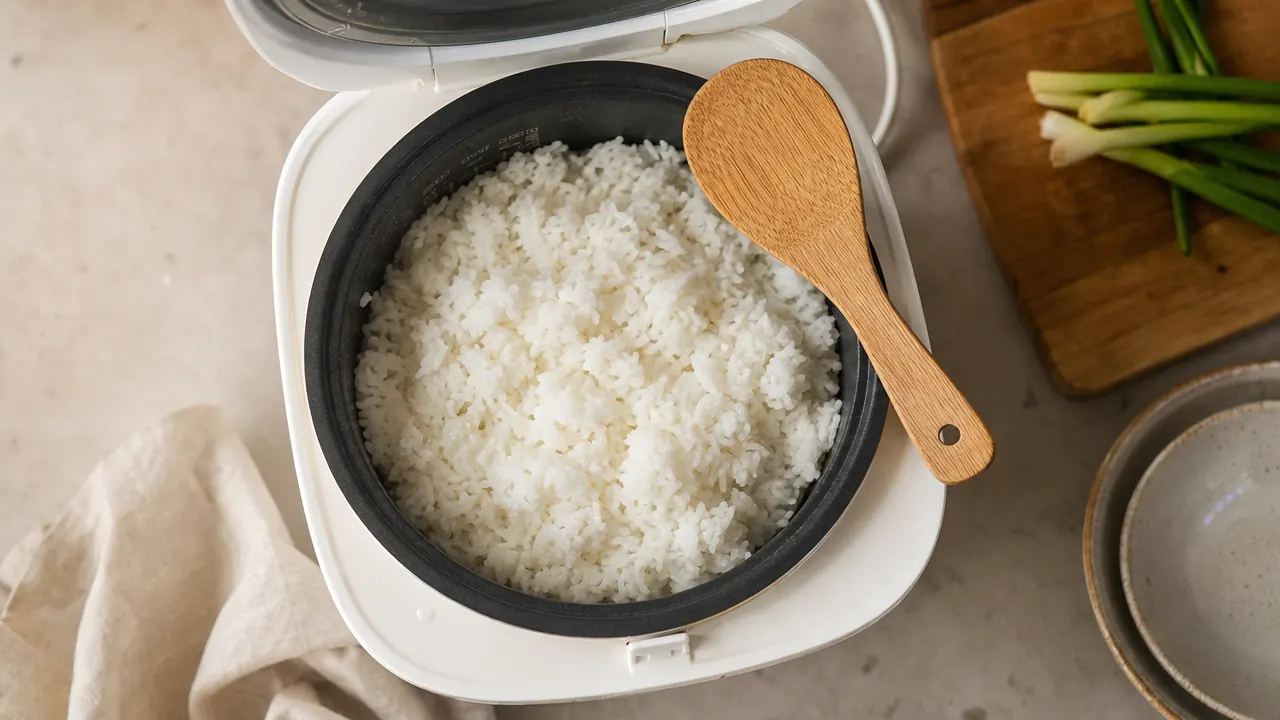
The right window is 10 minutes. After the cycle ends, leave the lid on and let it sit on the Warm setting for exactly 10 minutes. Set a timer. After 10 minutes, open the lid and use the included plastic rice paddle to fluff the rice from the bottom up with a gentle folding motion. This releases the remaining steam, separates the grains, and evens out the texture from top to bottom. The rice should look dry at the surface, fluffy throughout, and no grains should be sticking together in clumps.
What Else Helps
A few small adjustments that made a consistent difference across my testing. First, if you are cooking seasoned rice such as adding chicken broth instead of water, reduce the liquid volume by about 10 percent compared to plain water. Broth has more dissolved solids, which means it boils at a slightly higher temperature and the rice absorbs it differently. I found straight broth-to-water swaps tended to produce a slightly wet, sticky result. Cutting back a tablespoon or two fixed it.
Second, if you want to steam vegetables at the same time as your rice, the AROMA 3-Cup comes with a small steam tray. Add the raw rice and water first, then set the steam tray on top with cut vegetables, and run a normal cook cycle. The vegetables will be tender and the rice will be cooked through at the same time. Keep vegetables cut small and fairly uniform so they cook evenly. Large chunks can be underdone when the rice finishes.
Third, clean the inner pot after every use. Starch residue left on the pot affects the nonstick coating over time and can cause subsequent batches to stick to the bottom. The inner pot on the AROMA is nonstick and hand-washes in under two minutes. Do not use steel wool or abrasive scrubbers on it. A soft sponge and dish soap are all you need.
If you want to go deeper on how the AROMA 3-Cup compares to other compact options before committing to it, read my Aroma vs Dash Mini Rice Cooker comparison. If you already own the AROMA and want the full breakdown on its build quality, longevity, and what surprised me after months of daily use, the 90-day review covers all of that in detail.
The AROMA 3-Cup is under $20 and handles white rice, brown rice, and steaming in one small footprint.
If you follow the five steps in this guide, you will not have another batch of mushy or undercooked rice. The machine handles the timing and temperature automatically once you have the ratio and rinse right.
Amazon Check Today's Price on Amazon →